Our new release adds support for named values. Like a hidden field, a named value can be referenced from any formula. Unlike a hidden field, a named value can represent anything, including screens and arrays. Named values are normally hidden from the user.
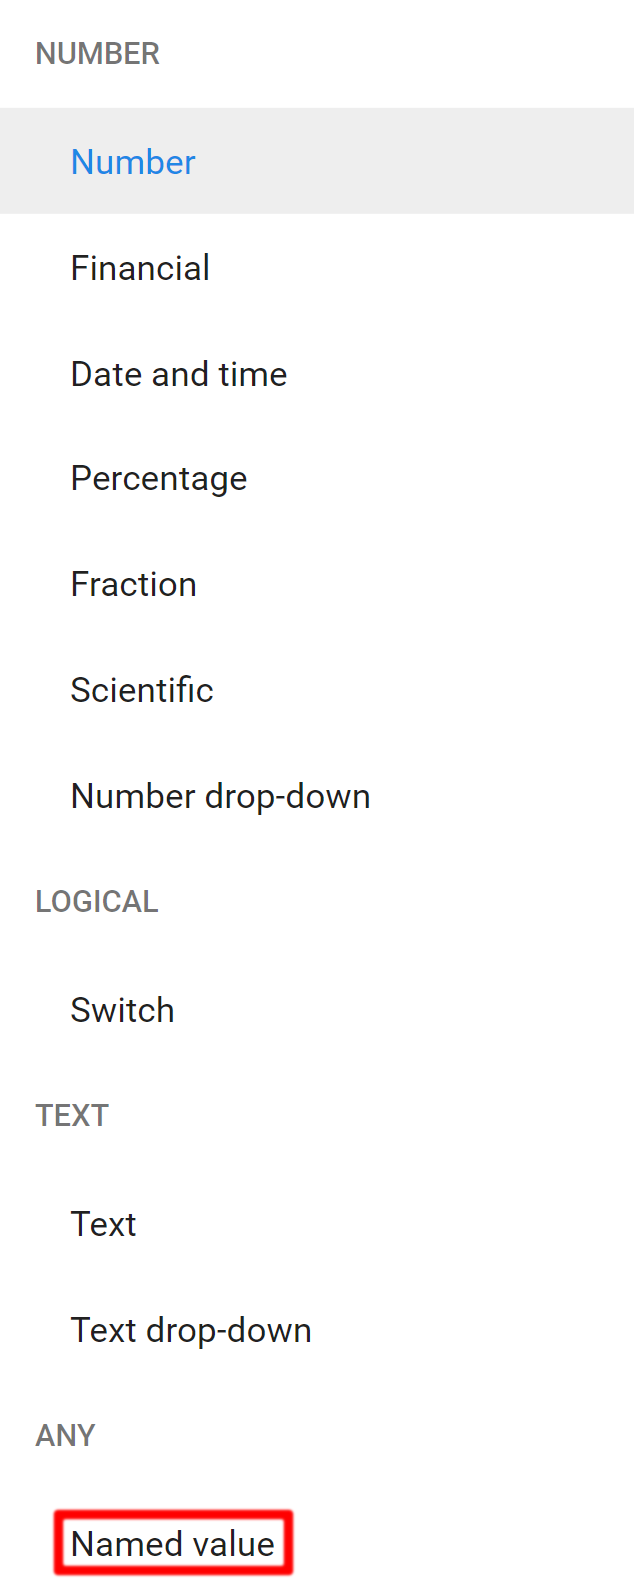
Create a named value by creating a new field and selecting Named value from the field drop-down in the inspector:
This is what the inspector looks like when a named value is selected:
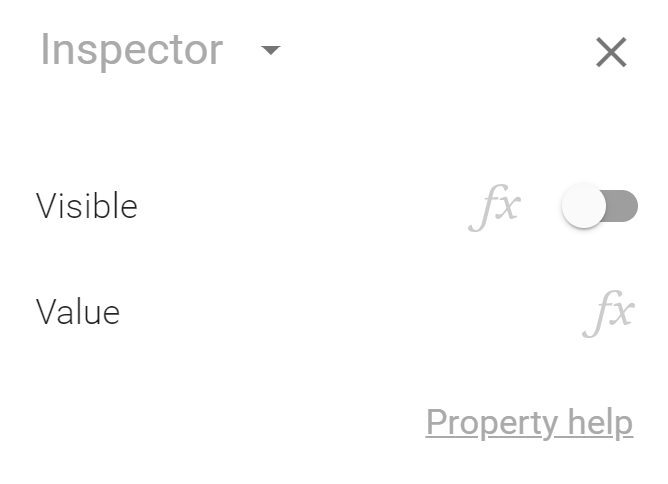
To determine the value represented by a named value, press the fx button next to Value and edit the formula.
You can use named values to cut down on repetition in formulas. Instead of duplicating a formula fragment in many formulas, use a named value instead and reference the named value from the formulas by writing its name. That makes formulas easier to read and can boost performance too, as it gives Calcapp less to do.
If you have experience with traditional programming, you can think of a named value as a variable. While a variable only changes when you explicitly assign a value to it, a named value updates automatically when the values its formula relies on change.
If you want to name values for use in a single formula, consider using the LET function instead (introduced in this post).
For more detailed information on named values, including lots of sample formulas, refer to our full documentation.
Named values are not available in any of our legacy plans, meaning that you may need to upgrade to access this feature. They are available in our 2023 Business and White Label plans. They are fully functional in Calcapp Creator’s preview sidebar, though, so you can get a feel for them, regardless of your plan.
Named values versus hidden fields
We introduced hidden fields back in 2016, to solve the same issue solved by named values. Hidden fields are number fields, switch fields or text fields that are invisible to the user. They are not invisible to other formulas, though, and as a result can be used to cut down on formula repetition and make formulas easier to read.
Since their introduction, Calcapp has gained the ability to reference more things than numbers, logical values (TRUE or FALSE) and text strings. In particular, our last big release made it possible to refer to things such as screens, fields, buttons and arrays.
Consider this formula:
If you assign this formula to a hidden number field and reference it from another formula, the value of the field (say, 4) is returned, because number field values expect their formulas to represent numbers.
If you instead assign the formula to a named value and reference it from another formula, the actual field is returned, including its value and all its other properties, like Visible.
To see the difference, let’s assume that the named value is named ActiveField.
This formula adds 2 to the value of ActiveField, because + expects both values to be numbers:
This formula returns 2 if the active field is visible, and 4 otherwise:
While ActiveField + 2ActiveField + 2 would have worked if ActiveField had been a hidden number field, IF(ActiveField.Visible, 2, 4)IF(ActiveField,Visible; 2; 4) only works if ActiveField is a named value.
The reason is that ActiveField, as a named value, represents the field in its entirety, and not just its value. For that reason, properties like Visible can be accessed.
Finally, consider this formula:
This formula is an action formula, and must be associated with the OnPress property of a formula button. (Action formulas are new to this release.) It only sends a report if the active field is valid, and otherwise displays an error message.
The sent report includes only the active field and its value. Again, this works because ActiveField is a reference to the field itself, and not only to its value.
Named values, hidden fields and the assignment operator
The new := operator may be used to assign values to properties from action formulas. This formula calculates a value which it then assigns to Field1:
This action formula hides a text box if Field1 is less than ten:
Assume that we have two formula buttons that move the user to different screens (through the GOFORWARD action function). Let’s also assume that we want to keep track of what button the user pressed by storing a text string.
Where should we store the text string? You may think that a named value would be the appropriate place, but named values cannot be used with :=. In fact, named values can only determine their values through formulas.
Instead, you need to use a hidden text field. If we name it SelectedButton, this is the formula we need for one of the buttons:
Named values, tabular data and arrays
As named values can represent anything, they can also represent data in the form of arrays. That capability makes it possible to create and update data separately from other formulas.
Assume that the following formula is associated with the named value Name, a part of the screen Employee:
Further, assume that the following formula is associated with the named value Salary, residing on the same screen:
The first element of Name corresponds to the first element of Salary, the second element of Name corresponds to the second element of Salary, etc. In other words, the two named values correspond to columns in a data table, holding the salaries of four employees.
Using these two named values, the following formula looks up the salary of an employee whose name is stored in the Name field:
The following formula returns the average salary of all employees:
This formula returns the number of employees who earn more than $50,000 per year:
Finally, this formula looks up the name of the employee with the highest salary:
Without named values, both arrays would have had to be duplicated in all these formulas.
Having named values reference arrays is so useful that we built a major feature around them: our new data editor, which allows data to be edited in the same way as a spreadsheet. Under the hood, the data editor creates and updates named values, corresponding to columns in the tabular data.
Using named values to create aliases
Named values can be used to create aliases, or alternative names, for names in Calcapp that are perhaps overly long.
The action function OPENREPORT allows the format of the sent report to be given as the second parameter. Here’s a formula that requests plain text:
If you find yourself using the OPENREPORT function many times, you may want to consider creating an alias for OpenReportFormat.PlainTextOpenReportFormat,PlainText.
Assume that this formula is associated with the named value Plain:
With this named value, the OPENREPORT formula above can be made shorter:
Making named values visible
Named values are normally hidden. However, you can make them visible by toggling their Visible property. This is useful when you’re testing your app, as it makes it possible to inspect the values used from your formulas. As there is little other reason to make named values visible, their appearance cannot be changed.
You are welcome to use a formula to determine whether a named value is visible. That can be used to add a “debug mode” to your app, which can be enabled from a Settings screen (perhaps only visible if you, the app author, is using the app, through UserEmailAddress or USERHASTAG).
This tip from 2017 discusses adding a debug mode to make hidden fields visible, but it is equally applicable to named values.