One of the most used button types is email report buttons, which enable your apps to send emails with the information collected and calculated by your app. When we first introduced the feature in 2016, you were limited to sending your app’s field values.
In 2021, we introduced the new Body property, enabling you to leave out field values altogether and fully set the body using a formula.
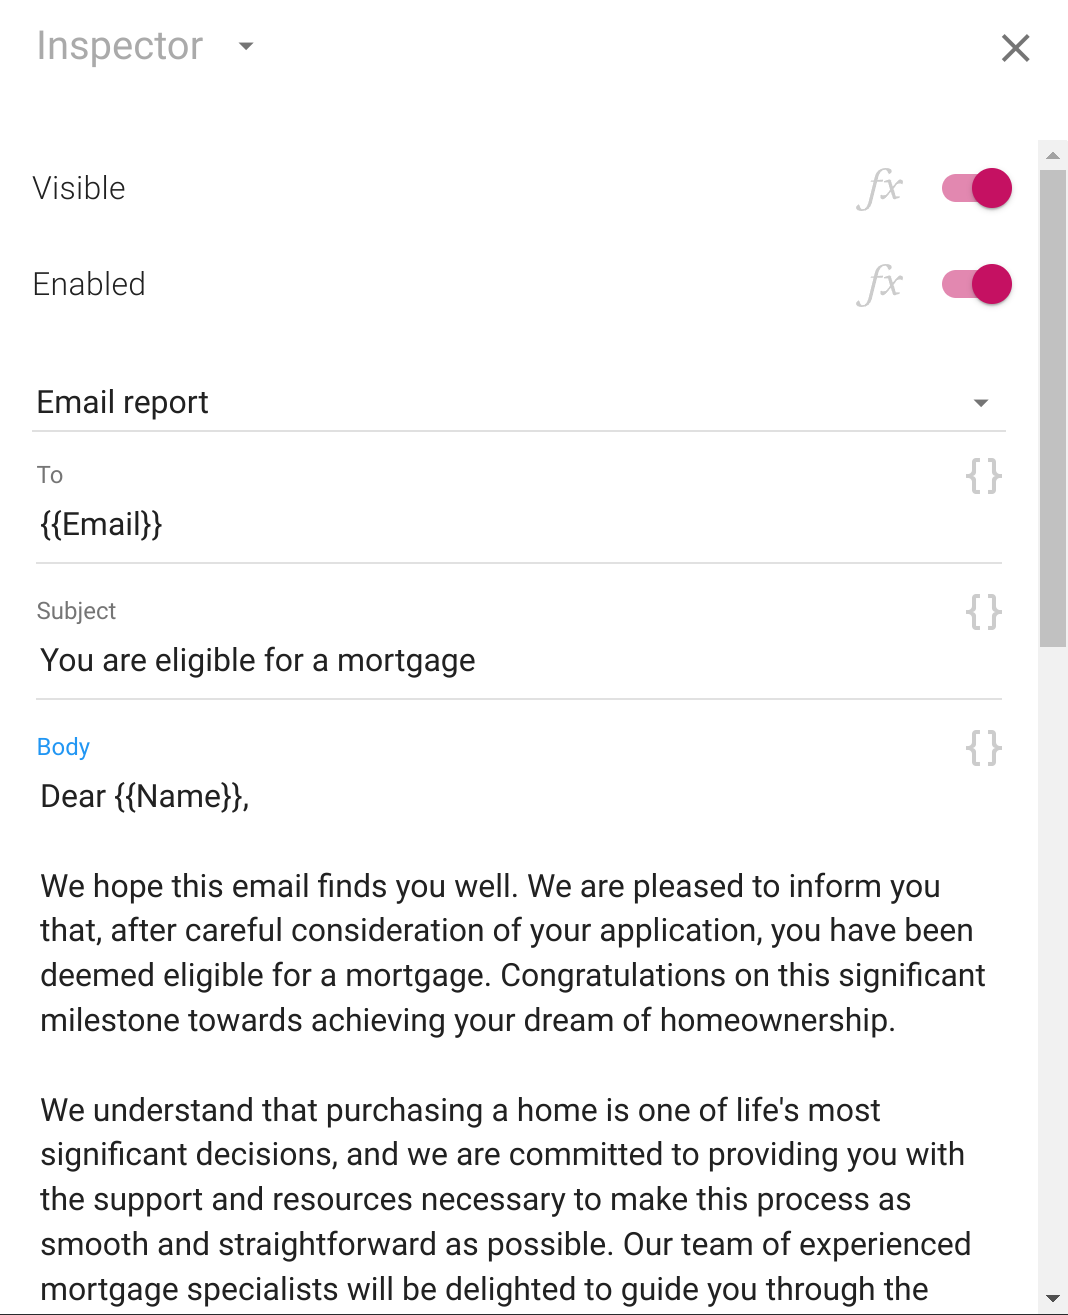
That setup now becomes the default. When you create a new email report button, it will be configured to not include field values. Instead, it will present an email editor very much like what you’d find in an email client, complete with the ability to set recipients, a subject line and a body.
Editing the body of your email
The email body in the inspector now expands in width when it becomes focused, more closely mimicking a traditional email client and allowing you to write more comfortably.
More important is the fact that the body, and all other text
properties, are now templates. What that means is
that you can easily insert formula fragments, simply by placing them
between {{ and }} markers.
Here’s an example:
Previously, you would have had to associate a formula like the following with the the Body property of the email report button:
Autocomplete is active when editing formula fragments, making template editing a first-class formula editing experience.
You’re not limited to referencing fields within the {{
and }} markers, you can use arbitrarily complicated
calculations.
Including field values
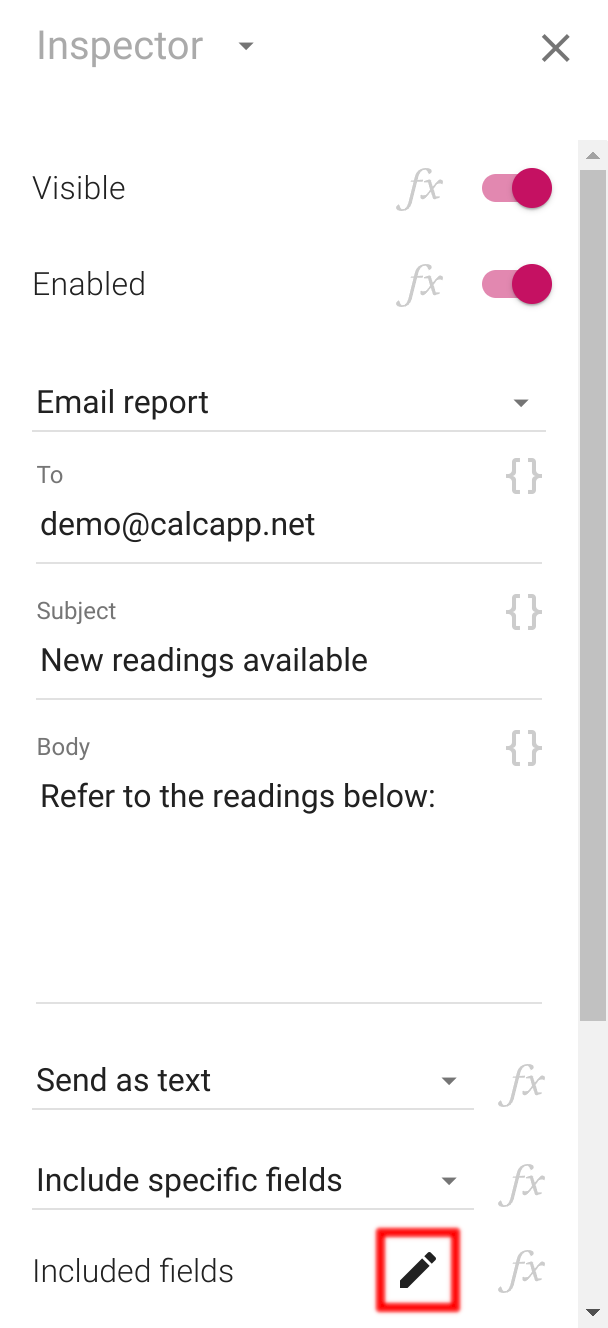
If you want to include field values, be sure to select Include this screen’s fields, Include all fields or Include specific fields from the drop-down that initially reads Don’t include fields.
If you select Include specific fields, a property labeled Included fields appears, along with a new pen button for determing what fields to include visually:
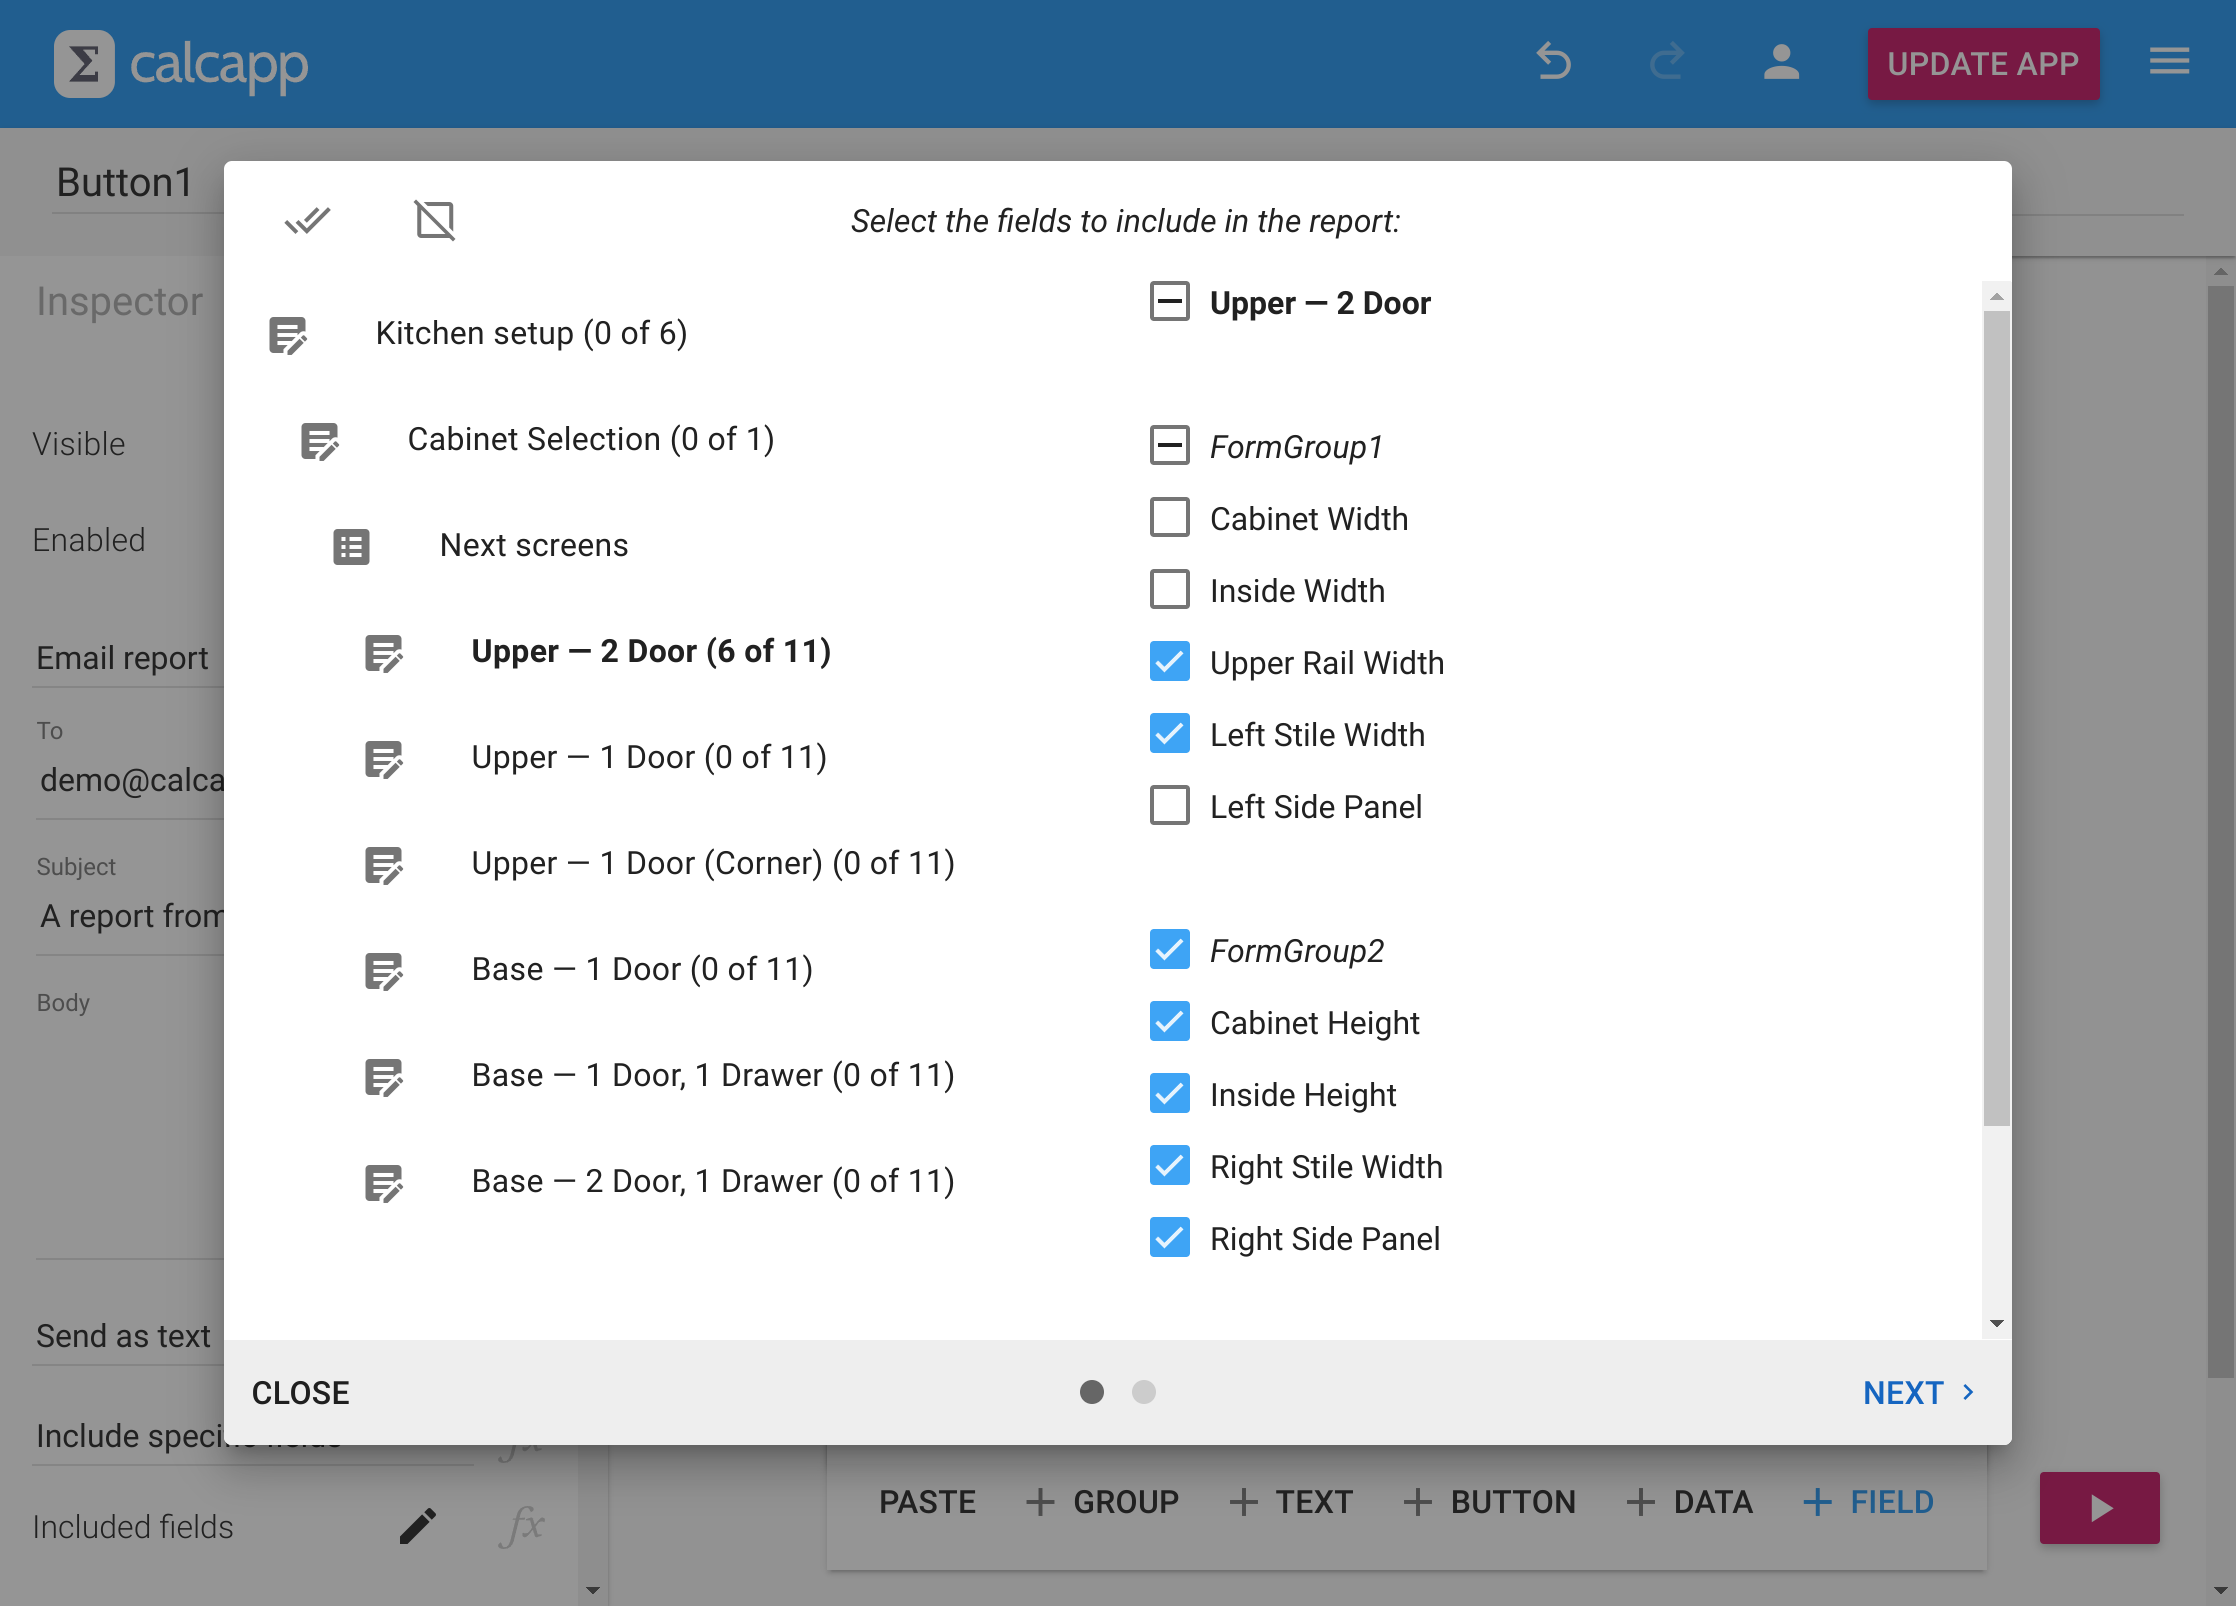
When you press this button, this box appears:
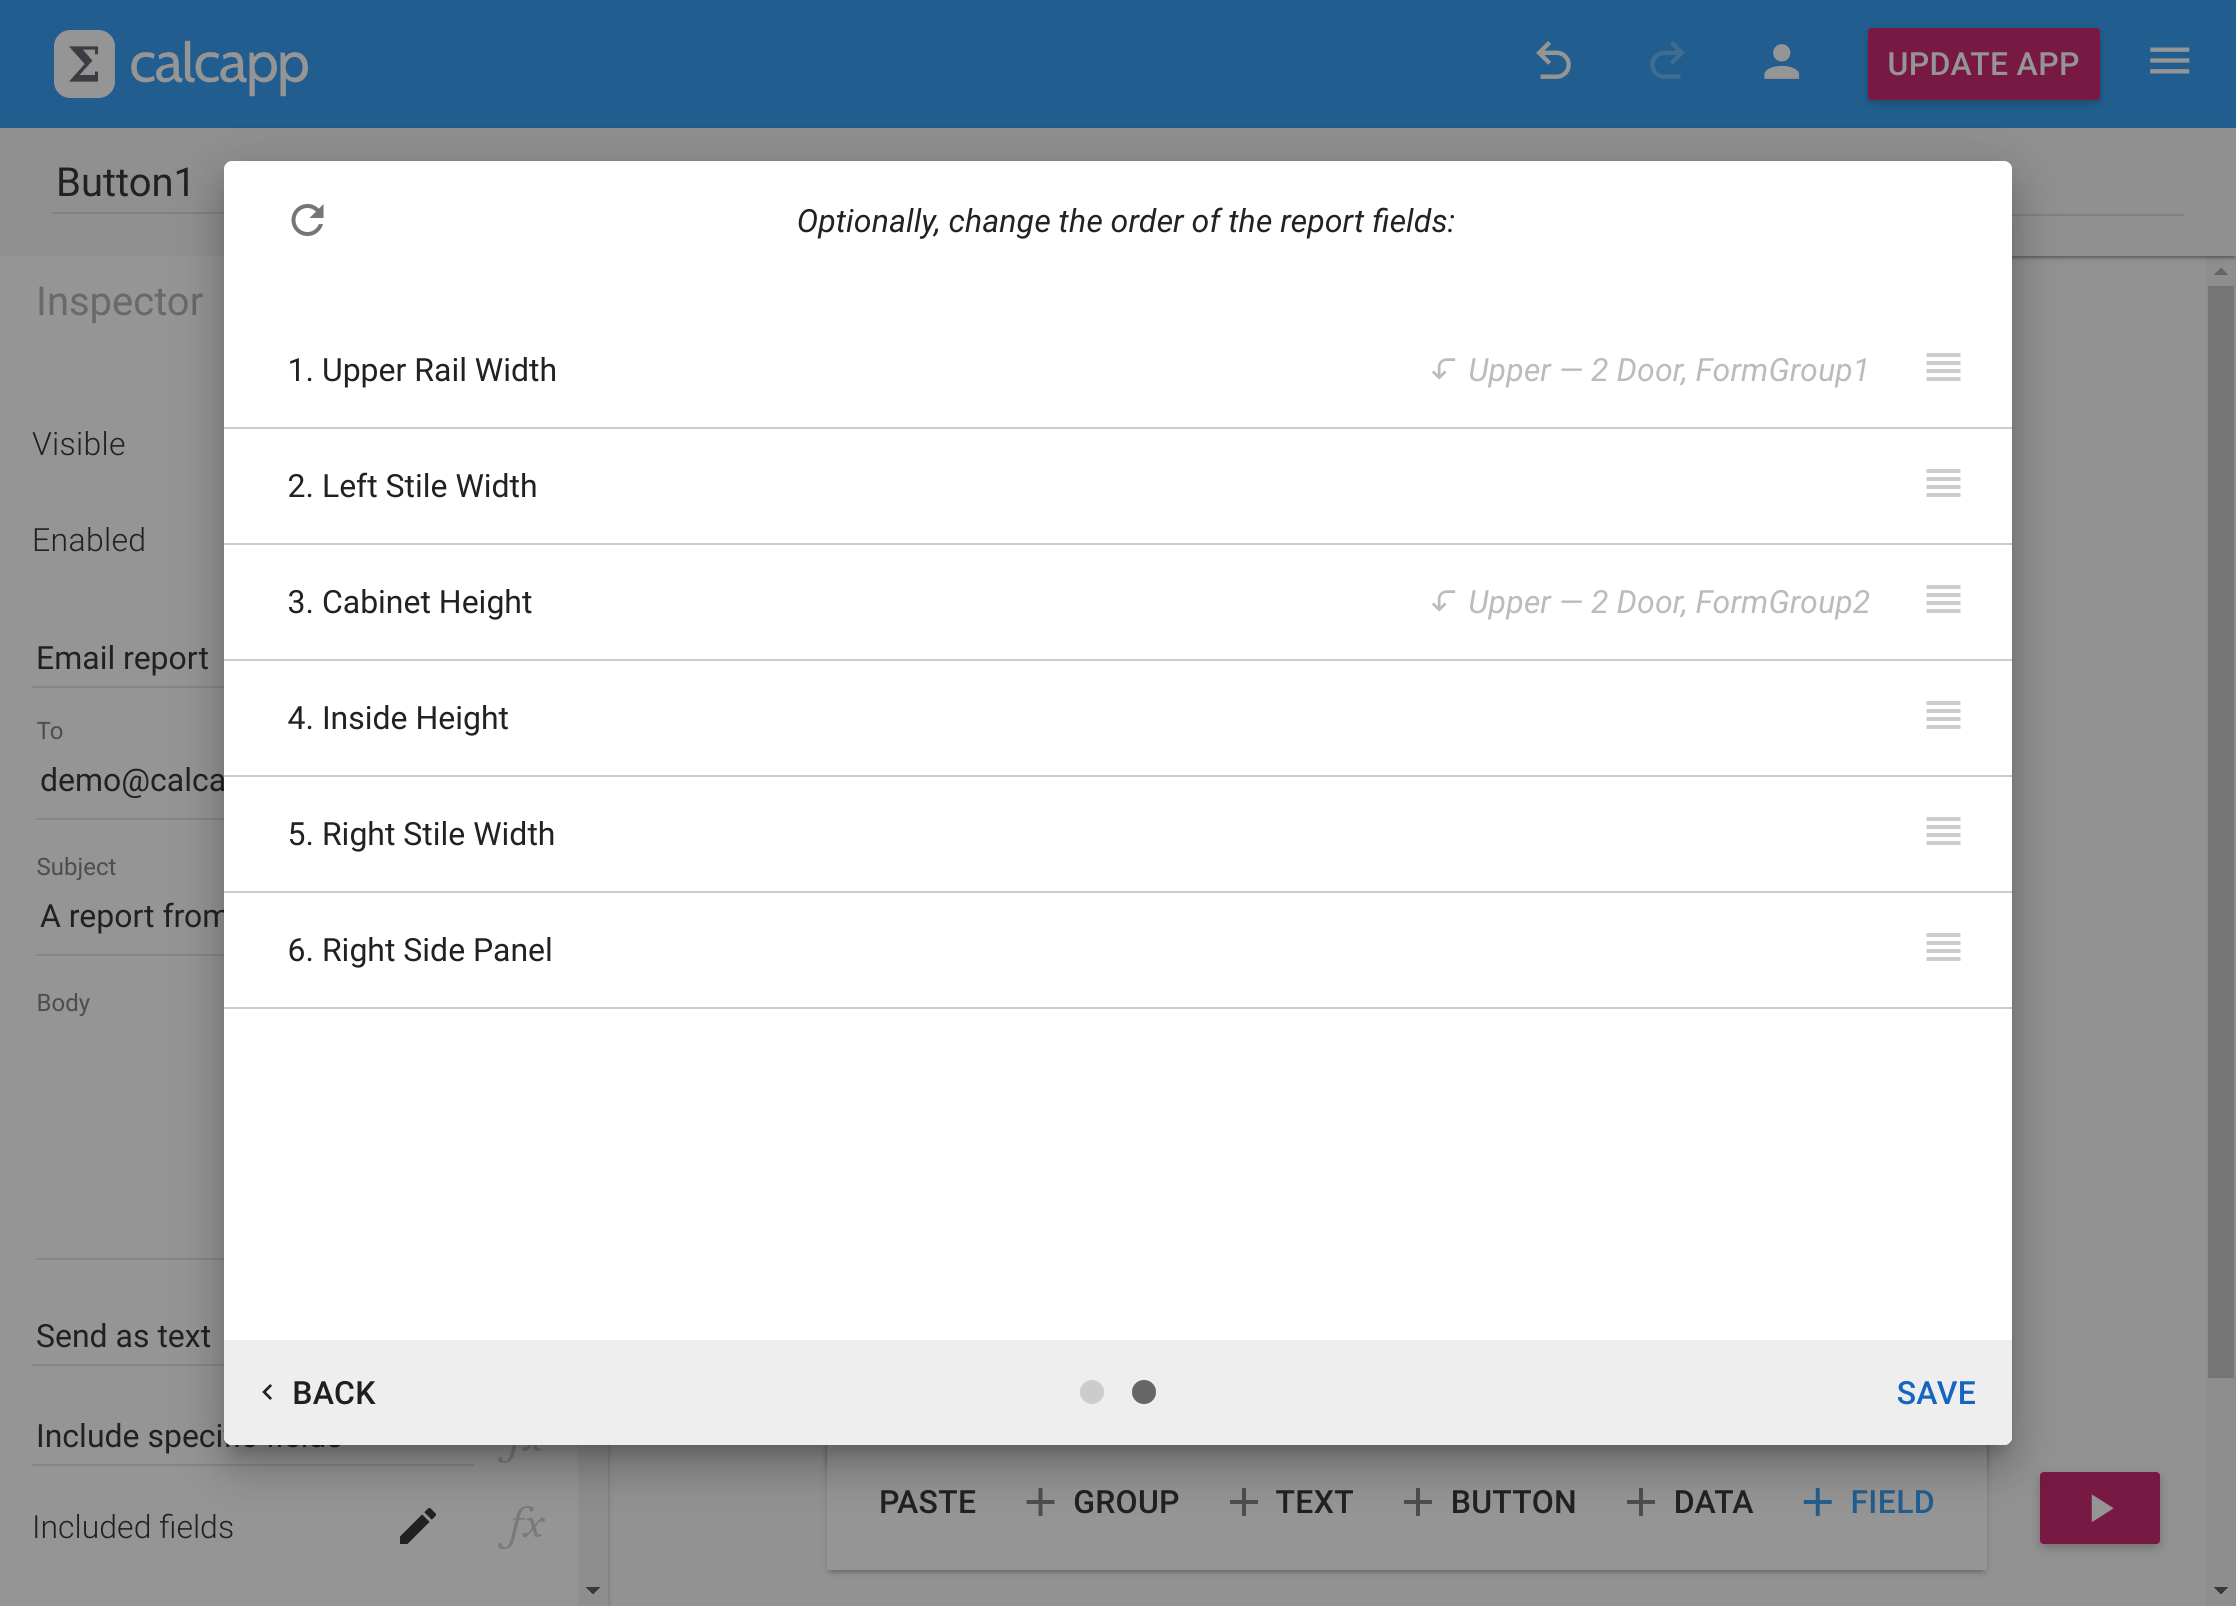
When you’re done selecting your fields, press Next to change the order of the fields in the report:
Selecting what fields to include was introduced in 2021, but required the formula of the IncludedFields property to be edited manually. We think that having a graphical way to determine what fields to include makes the feature accessible to many more users (and is easier to use even if you’re a formula savant).
More properties are now calculated properties
Many of the properties related to email report buttons, open report buttons and server relay buttons were previously regular properties, meaning that you couldn’t associate them with formulas. That meant that the only way to allow your users to, say, determine if a CSV report or a PDF report should be sent was to include multiple buttons.
That is mostly a thing of the past with this release, which converts most properties to true calculated properties.
Here’s the complete list of properties you can now associate with formulas:
Email report buttons: FieldInclusion, Format, IncludeBlankValues, IncludeHiddenFields, IncludeScreenLabels, ResetFields and SeparateScreens.
Open report buttons: FieldInclusion, Format, IncludeBlankValues, IncludeHiddenFields, IncludeScreenLabels, ResetFields and SeparateScreens.
Server relay buttons: Address, FieldInclusion, IncludeBlankValues, IncludeHiddenFields and ResetFields.
Let’s enable a user to determine if a CSV or PDF report should be sent: Assume that there’s a text drop-down field named FormatSelection, with the options “CSV” and “PDF”, as well as an email report button.
Associate this formula with the Format property of the email report button:
Report-related action functions
Our new release introduces 30 new action functions, which can be used from formulas associated with the OnPress property of formula buttons.
These are the new functions related to reports: EMAILREPORT, EMAILREPORT.CSV, EMAILREPORT.DSV, EMAILREPORT.TSV, OPENREPORT, OPENREPORT.CSV, OPENREPORT.DSV, OPENREPORT.TSV and RELAY.
There is nothing a report button can do that the functions above cannot. All features are accessible, and we have even introduced named parameters to make the new functions easy to use.
Action formulas make it possible to do report-related things that were previously unimaginable. This formula collects an email address through a prompt and then sends an email to that address:
Through action formulas, a single button can send different reports to different addresses, while also sending a message to the internal Slack channel, resetting fields and moving the user to a different screen. Refer to our dedicated blog post for an expanded discussion and many sample formulas.
The EMAILREPORT and OPENREPORT functions can be configured to send field values as delimiter-separated values (including CSV), but EMAILREPORT.DSV and OPENREPORT.DSV offer more options for configuring these values. EMAILREPORT.CSV, EMAILREPORT.TSV, OPENREPORT.CSV and OPENREPORT.TSV are convenience functions that are pre-configured to use commas or tabs as separators.