Working with formulas
Calcapp supports around 400 formula functions that will be familiar to spreadsheet users. We include modern Excel functions like XLOOKUP and FILTER, classics like SUM and COUNTIFS, and power user favorites MAP and REDUCE.
Key differences from spreadsheets
- Field references - Use field names instead of cell positions.
- No equals sign - Start formulas directly with the function or value.
- Autocomplete - Press Ctrl+Space (PC) or ⌘+Space (Mac) for suggestions.
Our formula and property documentation includes several thousand examples. For advanced topics, see our advanced formula guide.
Number formatting
Formulas support both decimal points and decimal commas. Choose your preference when you first open Calcapp Creator, or change it later in Account settings… from the menu.
This website defaults to decimal points in formula samples. Interactive samples (black background) allow switching formats using the decimal point/comma button.
Conditional logic
Calcapp’s IF function handles multiple conditions without nested parentheses. This formula returns 10 if Field1 equals 1, 20 if it equals 2, 30 if it equals 3, and 99 otherwise:
For testing the same value against multiple options, SWITCH is more concise:
Logical operators
Operators typically appear between values (like + and & for joining text) or after them (like % for percentages).
Calcapp includes logical operators that provide alternatives to standard functions:
AND logic - && works like AND, returning TRUE only when all values are TRUE. These formulas are equivalent:
OR logic - || works like OR, returning TRUE when at least one value is TRUE. These formulas are equivalent:
NOT logic - ! works like NOT, reversing TRUE to FALSE and vice versa. These formulas are equivalent:
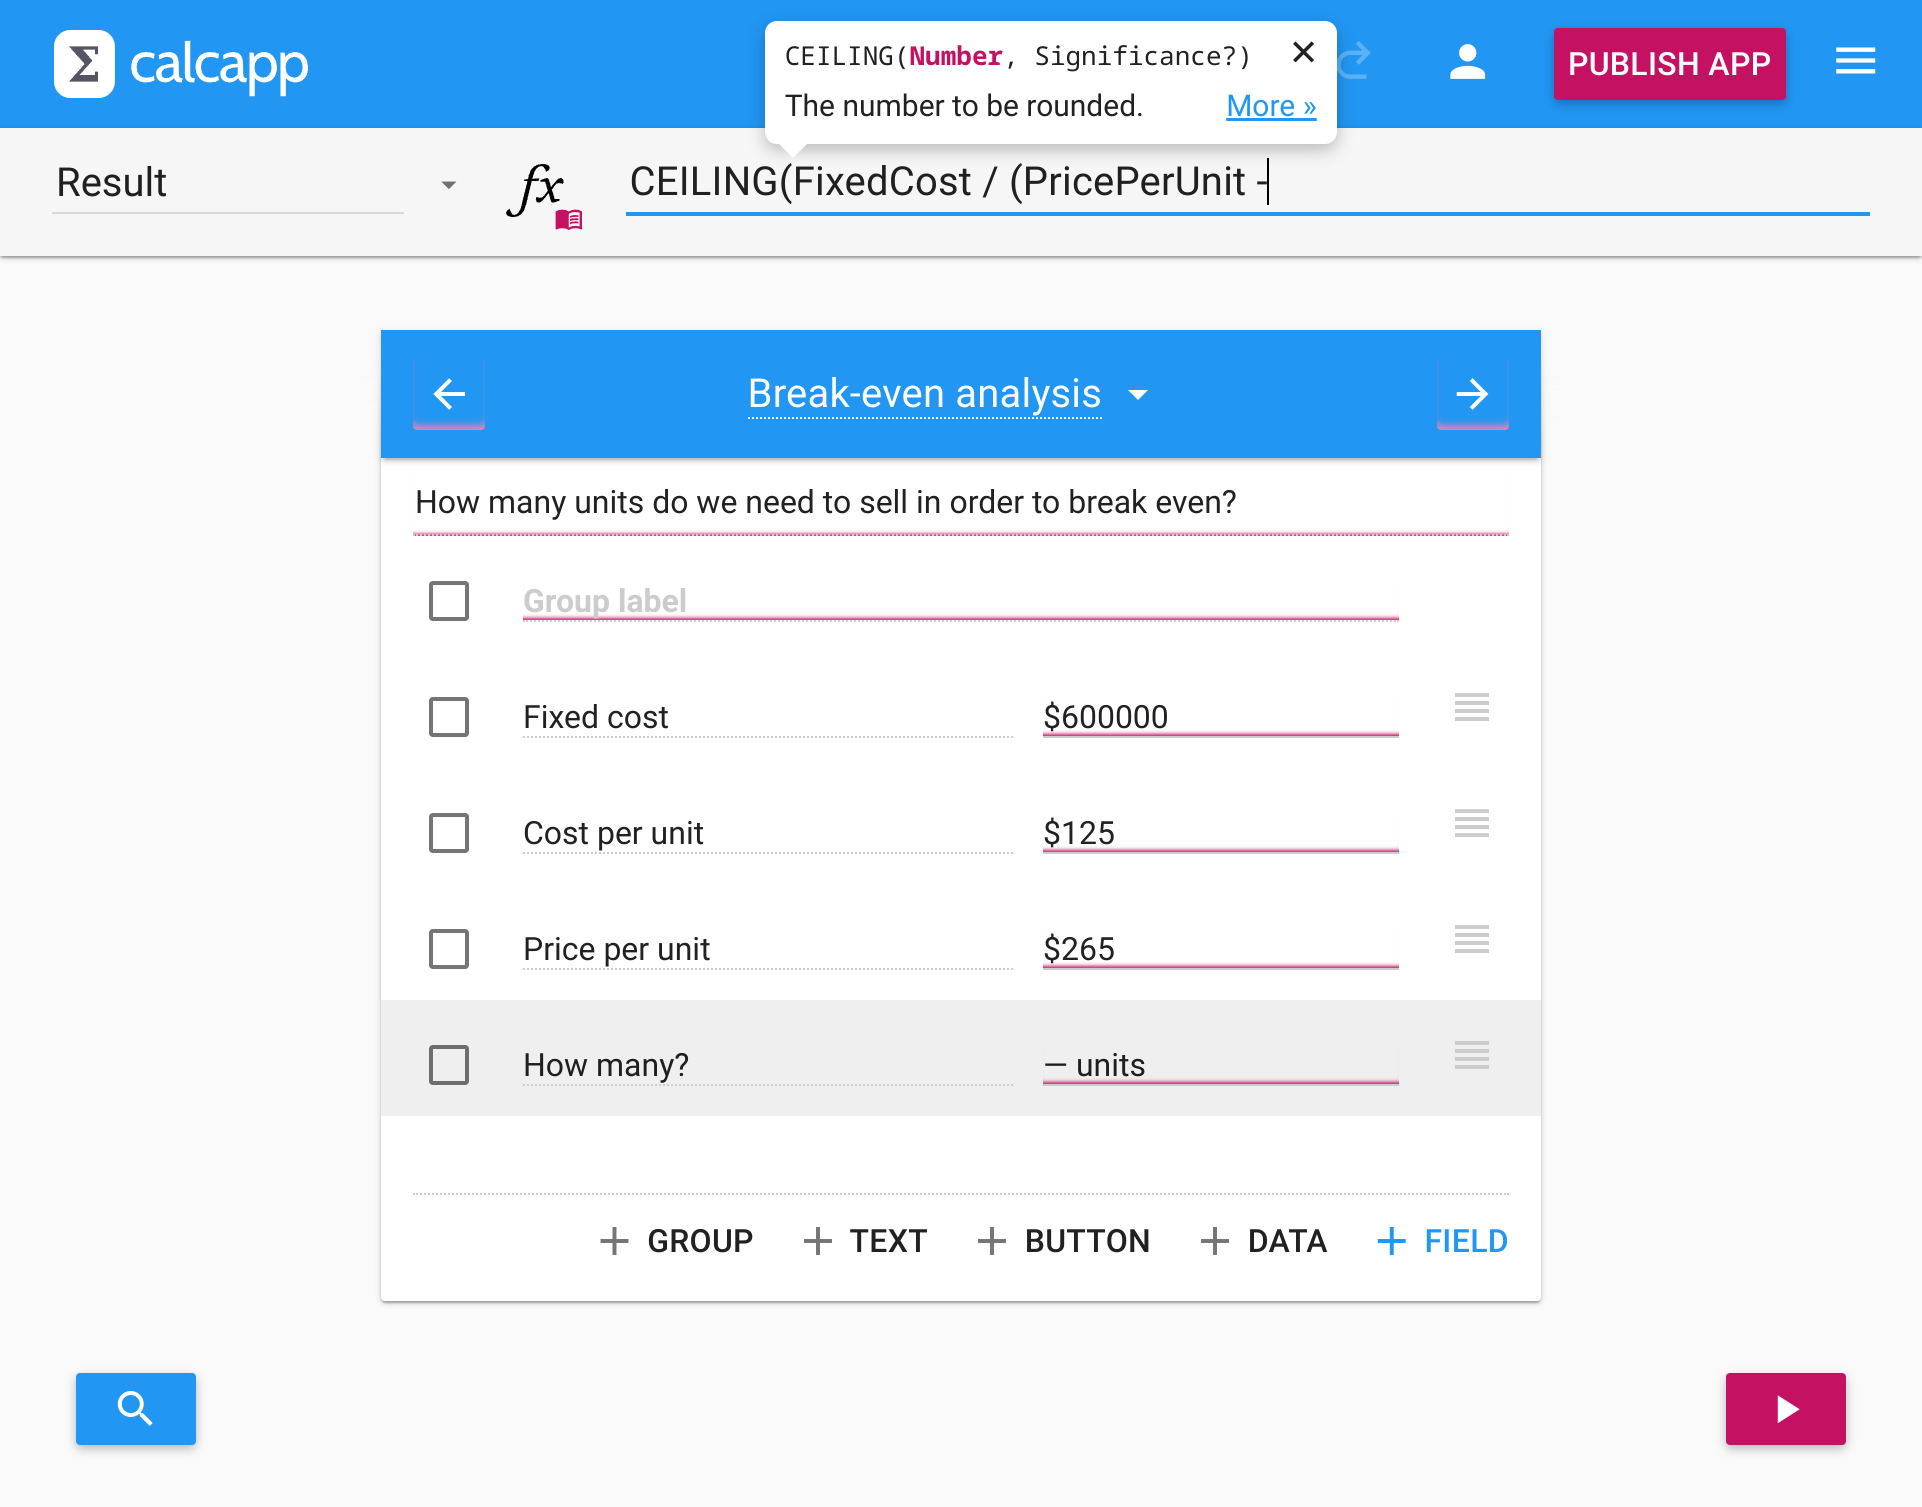
Field references
Instead of typing field names manually, use these convenient methods:
- Click to insert - Items in the designer turn purple at valid insertion points. Click any item to insert its name.
- Autocomplete - Start typing a field name or label for suggestions.
Reusing formula fragments
When you repeat formula fragments across multiple formulas, store them in a hidden field or named value for reuse:
Hidden fields
Hidden fields work like normal fields but never appear to users. Toggle the Visible property in the inspector to hide a field:
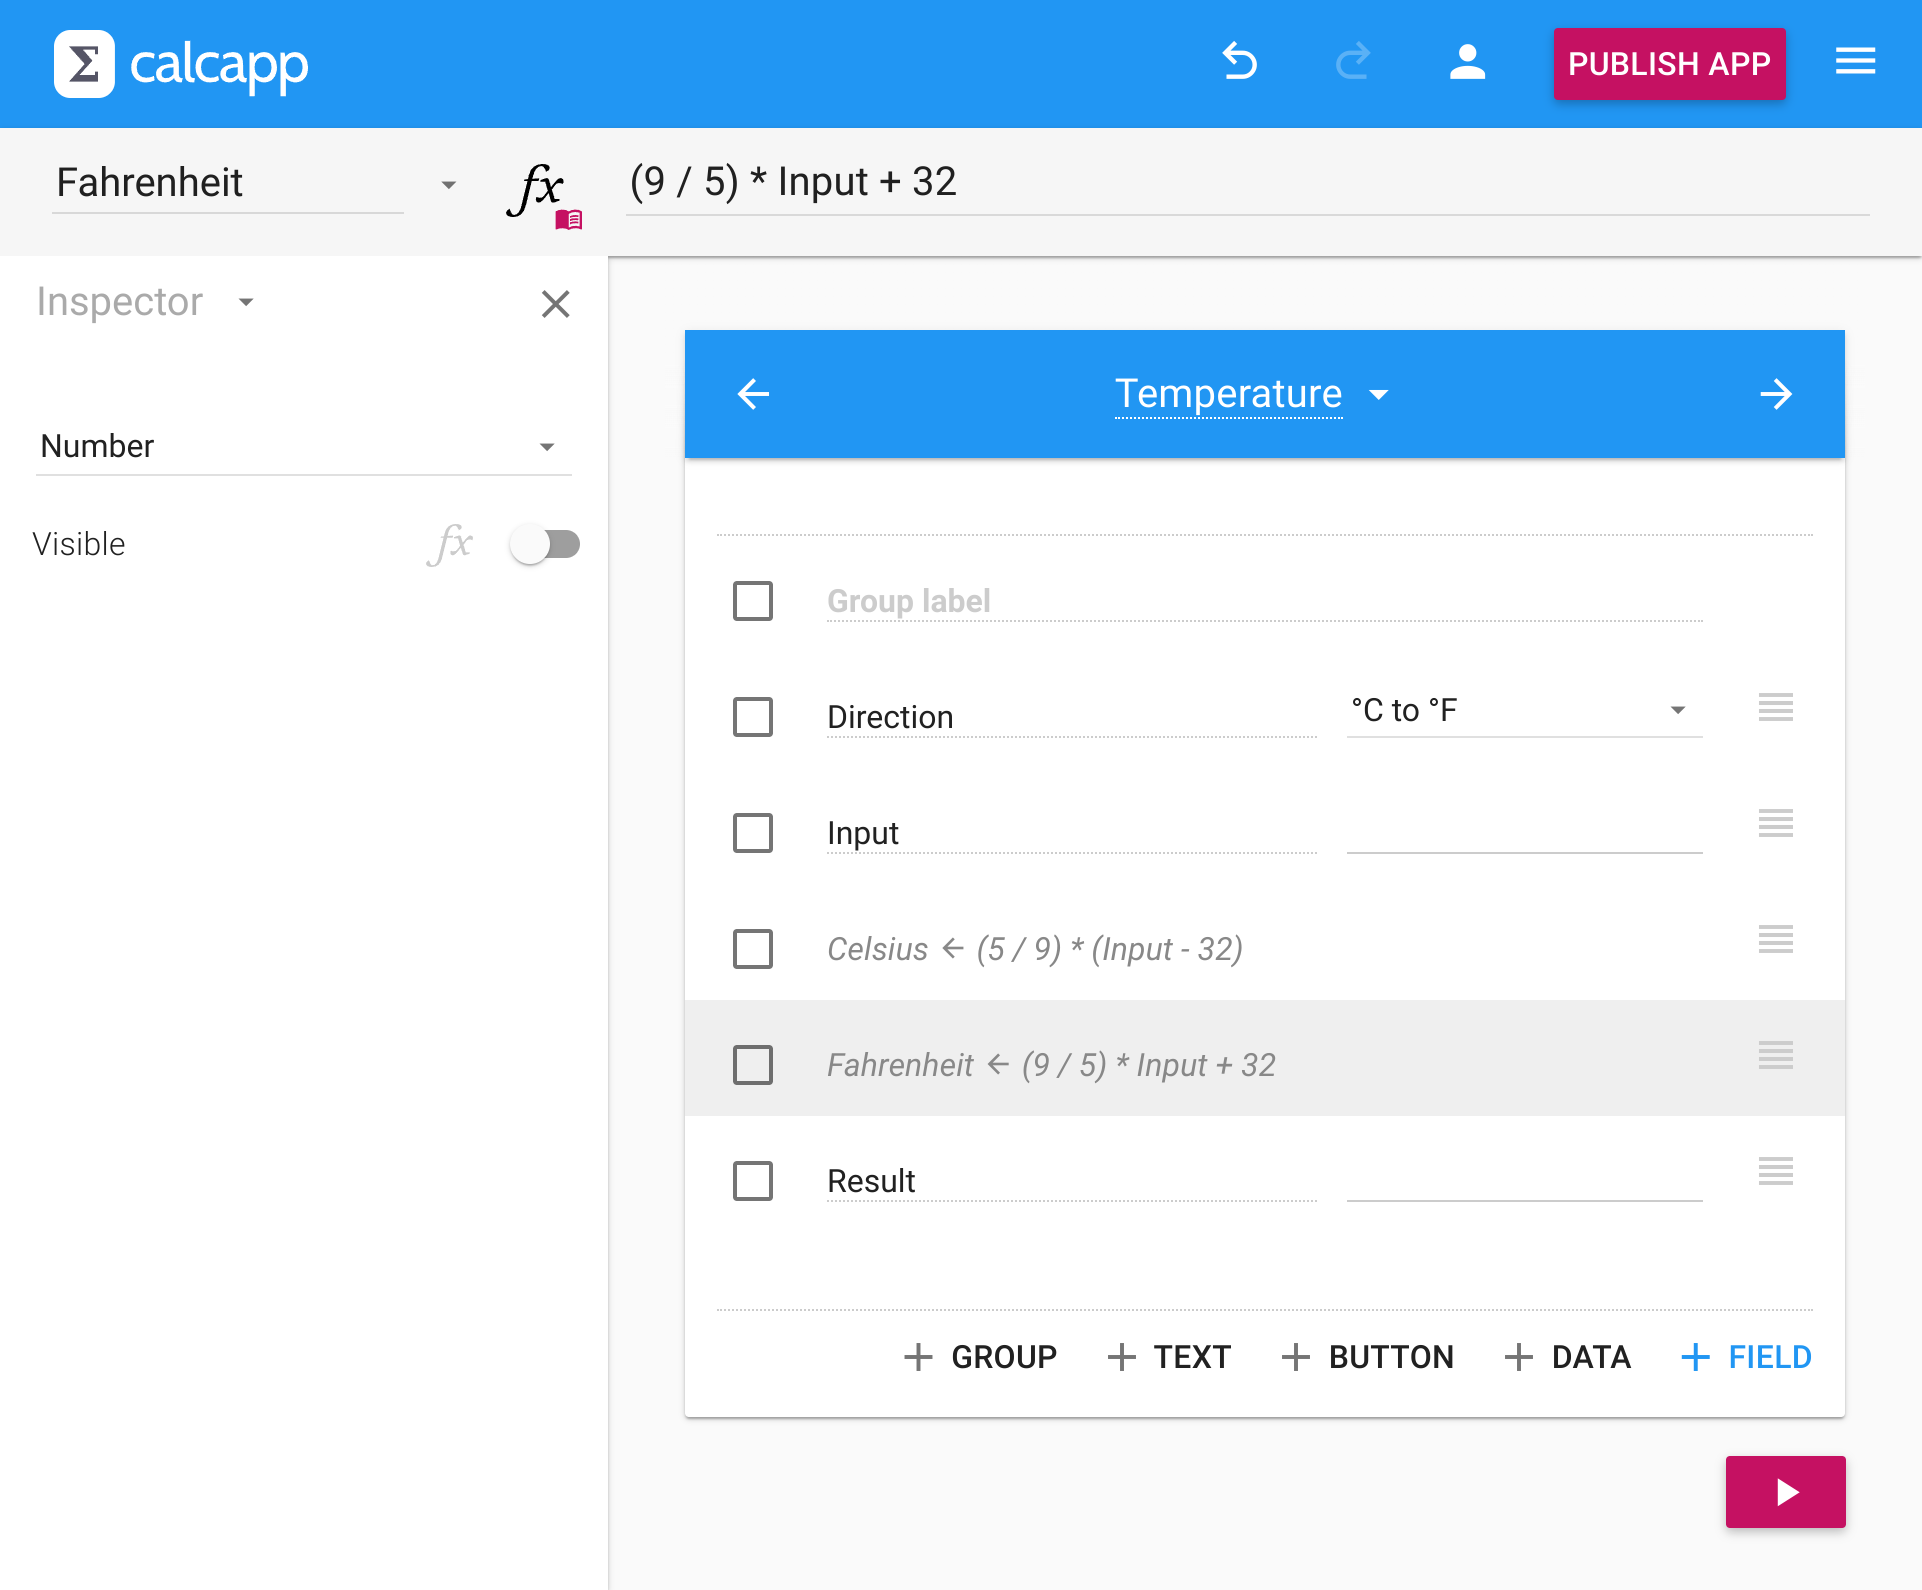
Hidden fields can reference numbers, text strings, TRUE or FALSE.
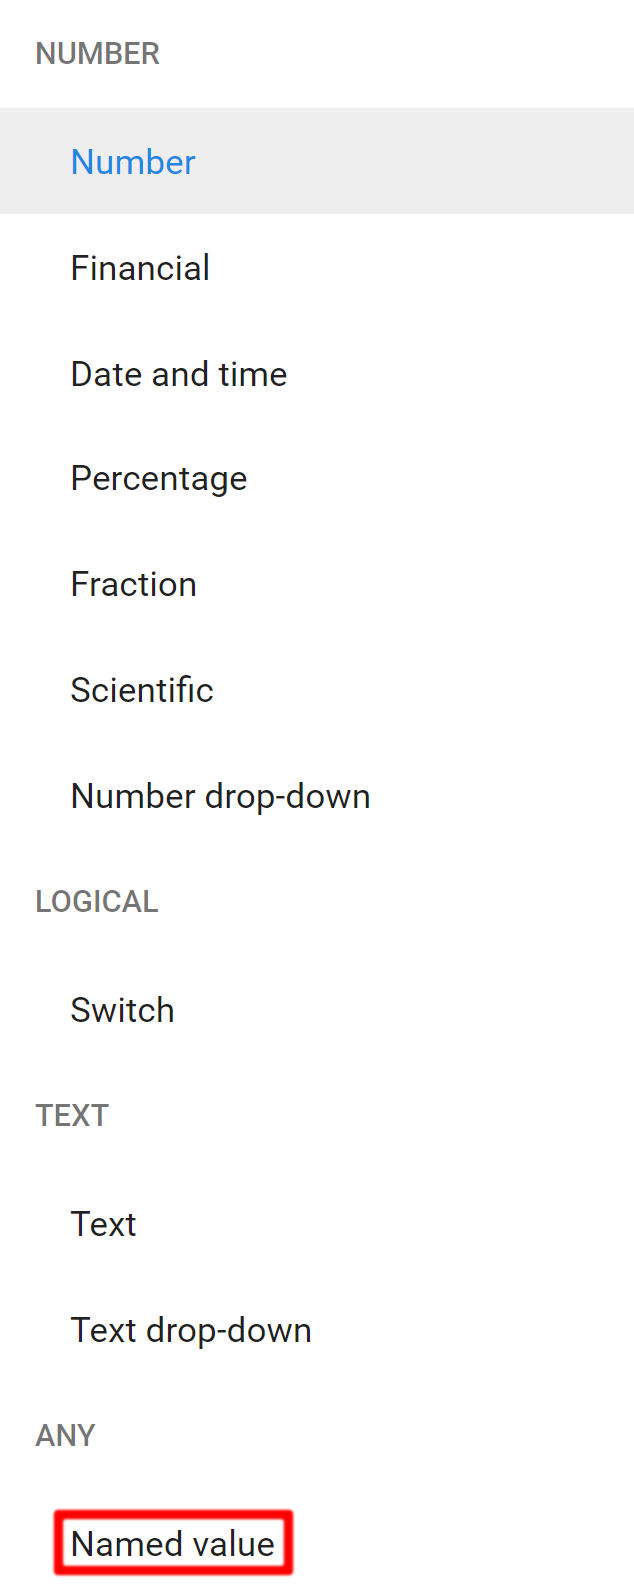
Named values
Named values can represent anything a formula returns, including screens and arrays. Create one by selecting Named value from the field drop-down in the inspector:
Error handling
Formula errors occur for reasons like dividing by zero or invalid function parameters. Calcapp’s error handling works like spreadsheets:

Errors display as red error codes. Hover over them for detailed error messages that pinpoint the problematic operator or function.
Use these functions to handle errors gracefully:
- ERROR.TYPE - Get error information.
- ISERROR - Check if a value is an error.
- IFERROR - Return an alternative value for errors.
For example, display nothing when division by zero occurs:
Error codes are visible in Creator’s preview sidebar but don’t appear in published apps.
Now that you have learned how to work with formulas, learn more about adding navigation to your app »